Mastering Under-Sink Organization: Tips for a Clutter-Free Kitchen
Table of Contents
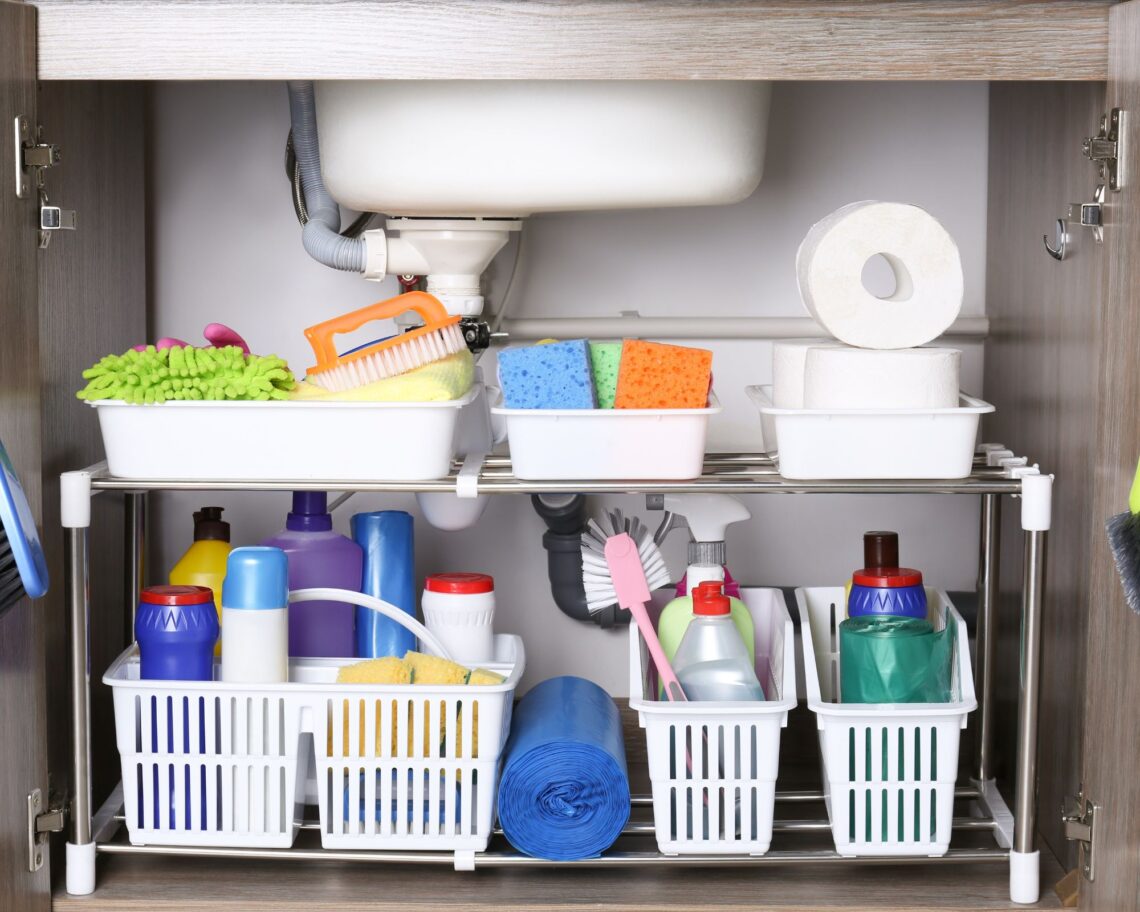
The area beneath your kitchen sink often resembles a labyrinth of cleaning supplies, dish soap, and miscellaneous items. But fear not; we’re here to help you master under-sink organization and transform that cluttered space into a harmonious, efficient part of your kitchen. This guide’ll walk you through step-by-step tips for achieving a clutter-free under-sink area.
Why Under Sink Organization Matters
Before we dive into the tips, let’s understand why it’s crucial to have an organized space under your kitchen sink:
- Efficiency: Easy access to cleaning supplies and other essentials makes daily kitchen tasks a breeze.
- Safety: An organized space reduces the risk of spills, leaks, or accidents with hazardous substances.
- Maximized Space: Proper organization can help you make the most of the often limited space under the sink.
Let’s get started with your journey to mastering under-sink organization.
Step 1: Declutter the Under Sink Area
The first step is always decluttering, and your under-sink cabinet is no exception:
- Empty the Space: Start by removing everything from the cabinet.
- Sort and Discard: Go through each item and decide what to keep, what to donate, and what to throw away. Dispose of expired or unnecessary items.
- Categorize: Group similar items together, such as cleaning supplies, dishwashing products, and garbage bags.
Step 2: Plan Your Under-Sink Layout
A well-thought-out layout can make a world of difference:
- Install Shelves: Consider adding shelves to maximize vertical space. Adjustable or pull-out shelves are excellent options.
- Use Drawer Organizers: Utilize drawer organizers for small items like scrubbers, sponges, and dishcloths.
- Under-Sink Pull-Out Drawers: Invest in under-sink pull-out drawers to access items at the back with ease.
Step 3: Organize Your Under-Sink Cabinet
Now that you’ve decluttered and planned your layout, it’s time to organize your under-sink space:
- Group by Frequency of Use: Store frequently used items in easily accessible areas. Place less commonly used items toward the back or higher up.
- Label Containers: Use labels to identify the contents of containers and avoid confusion.
- Clear Bins: Transparent containers are a lifesaver, allowing you to see what’s inside without digging through.
Step 4: Creative Under Sink Storage Solutions
Here are some creative ideas to make the most of your under-sink space:
- Under-Sink Caddy: Hang an under-sink caddy on the cabinet door for easy access to cleaning supplies and dish soap.
- Tension Rods: Use tension rods to create dividers for cleaning or hanging spray bottles.
- Add Hooks: Add hooks to hang items like gloves, scrub brushes, or trash bags.
- Pull-Out Trash Bin: Consider a pull-out trash bin system to keep your garbage conveniently hidden away.
Step 5: Sustainable and Eco-Friendly Options
If you’re eco-conscious, you can make your under sink organization environmentally friendly:
- Reusable Containers: Use glass or reusable plastic containers for cleaning products instead of single-use bottles.
- Compost Bin: Keep a small bin under the sink for food scraps.
- Eco-Friendly Cleaning Supplies: Choose eco-friendly and non-toxic cleaning products for a healthier home.
Step 6: Maintenance and Reevaluation
Organizing your under-sink area is not a one-time task. Regular maintenance is crucial:
- Monthly Check: Dedicate time each month to assess and declutter the space.
- Reevaluate Needs: As your household changes, you might need to adjust your organization accordingly.
Conclusion
With these step-by-step tips, you’re well on mastering under-sink organization and achieving a clutter-free kitchen. An organized under-sink space improves efficiency and enhances your kitchen’s overall safety and functionality. Whether you have a spacious or small under-sink cabinet, these tips and products can help you make the most of the space and keep it tidy. Say goodbye to clutter and hello to an organized under-sink area!


